We’ve been working on inversions in my classes over the past few weeks. While we we’re having some free time to play with inversions, many students asked me how to get into headstand, so I thought it would be helpful to break it down on the blog! It can be tempting to get discouraged the first time you try a pose like headstand but don’t give up. Inversions take a lot of practice, strength and mostly getting over the fear/weird feeling of being upside down! I used to be so freaked out by headstand. I was over a year and a half into my regular practice before I felt comfortable getting into it. I was taking regular vinyasa classes but had never had headstand pose broken down for me so I was often wondering how the other people in my class knew what to do — where to place your arms and hands, what part of your head should be on the mat, etc. To be honest, I was anxious and embarrassed to try it in class because I didn’t want to fall — so silly! Now falling out of a pose in class doesn’t phase me at all. Anyways, I practiced it in bedroom until I got it. 🙂 I also took an inversion workshop, which helped me learn proper alignment. Not everyone has the time or resources to attend an inversion workshop and since so many students have asked me about headstand, I’m giving you all my best tips!
Below, I walk through 5 steps to get into headstand. Give them a try, it’s fun being upside down. 🙂
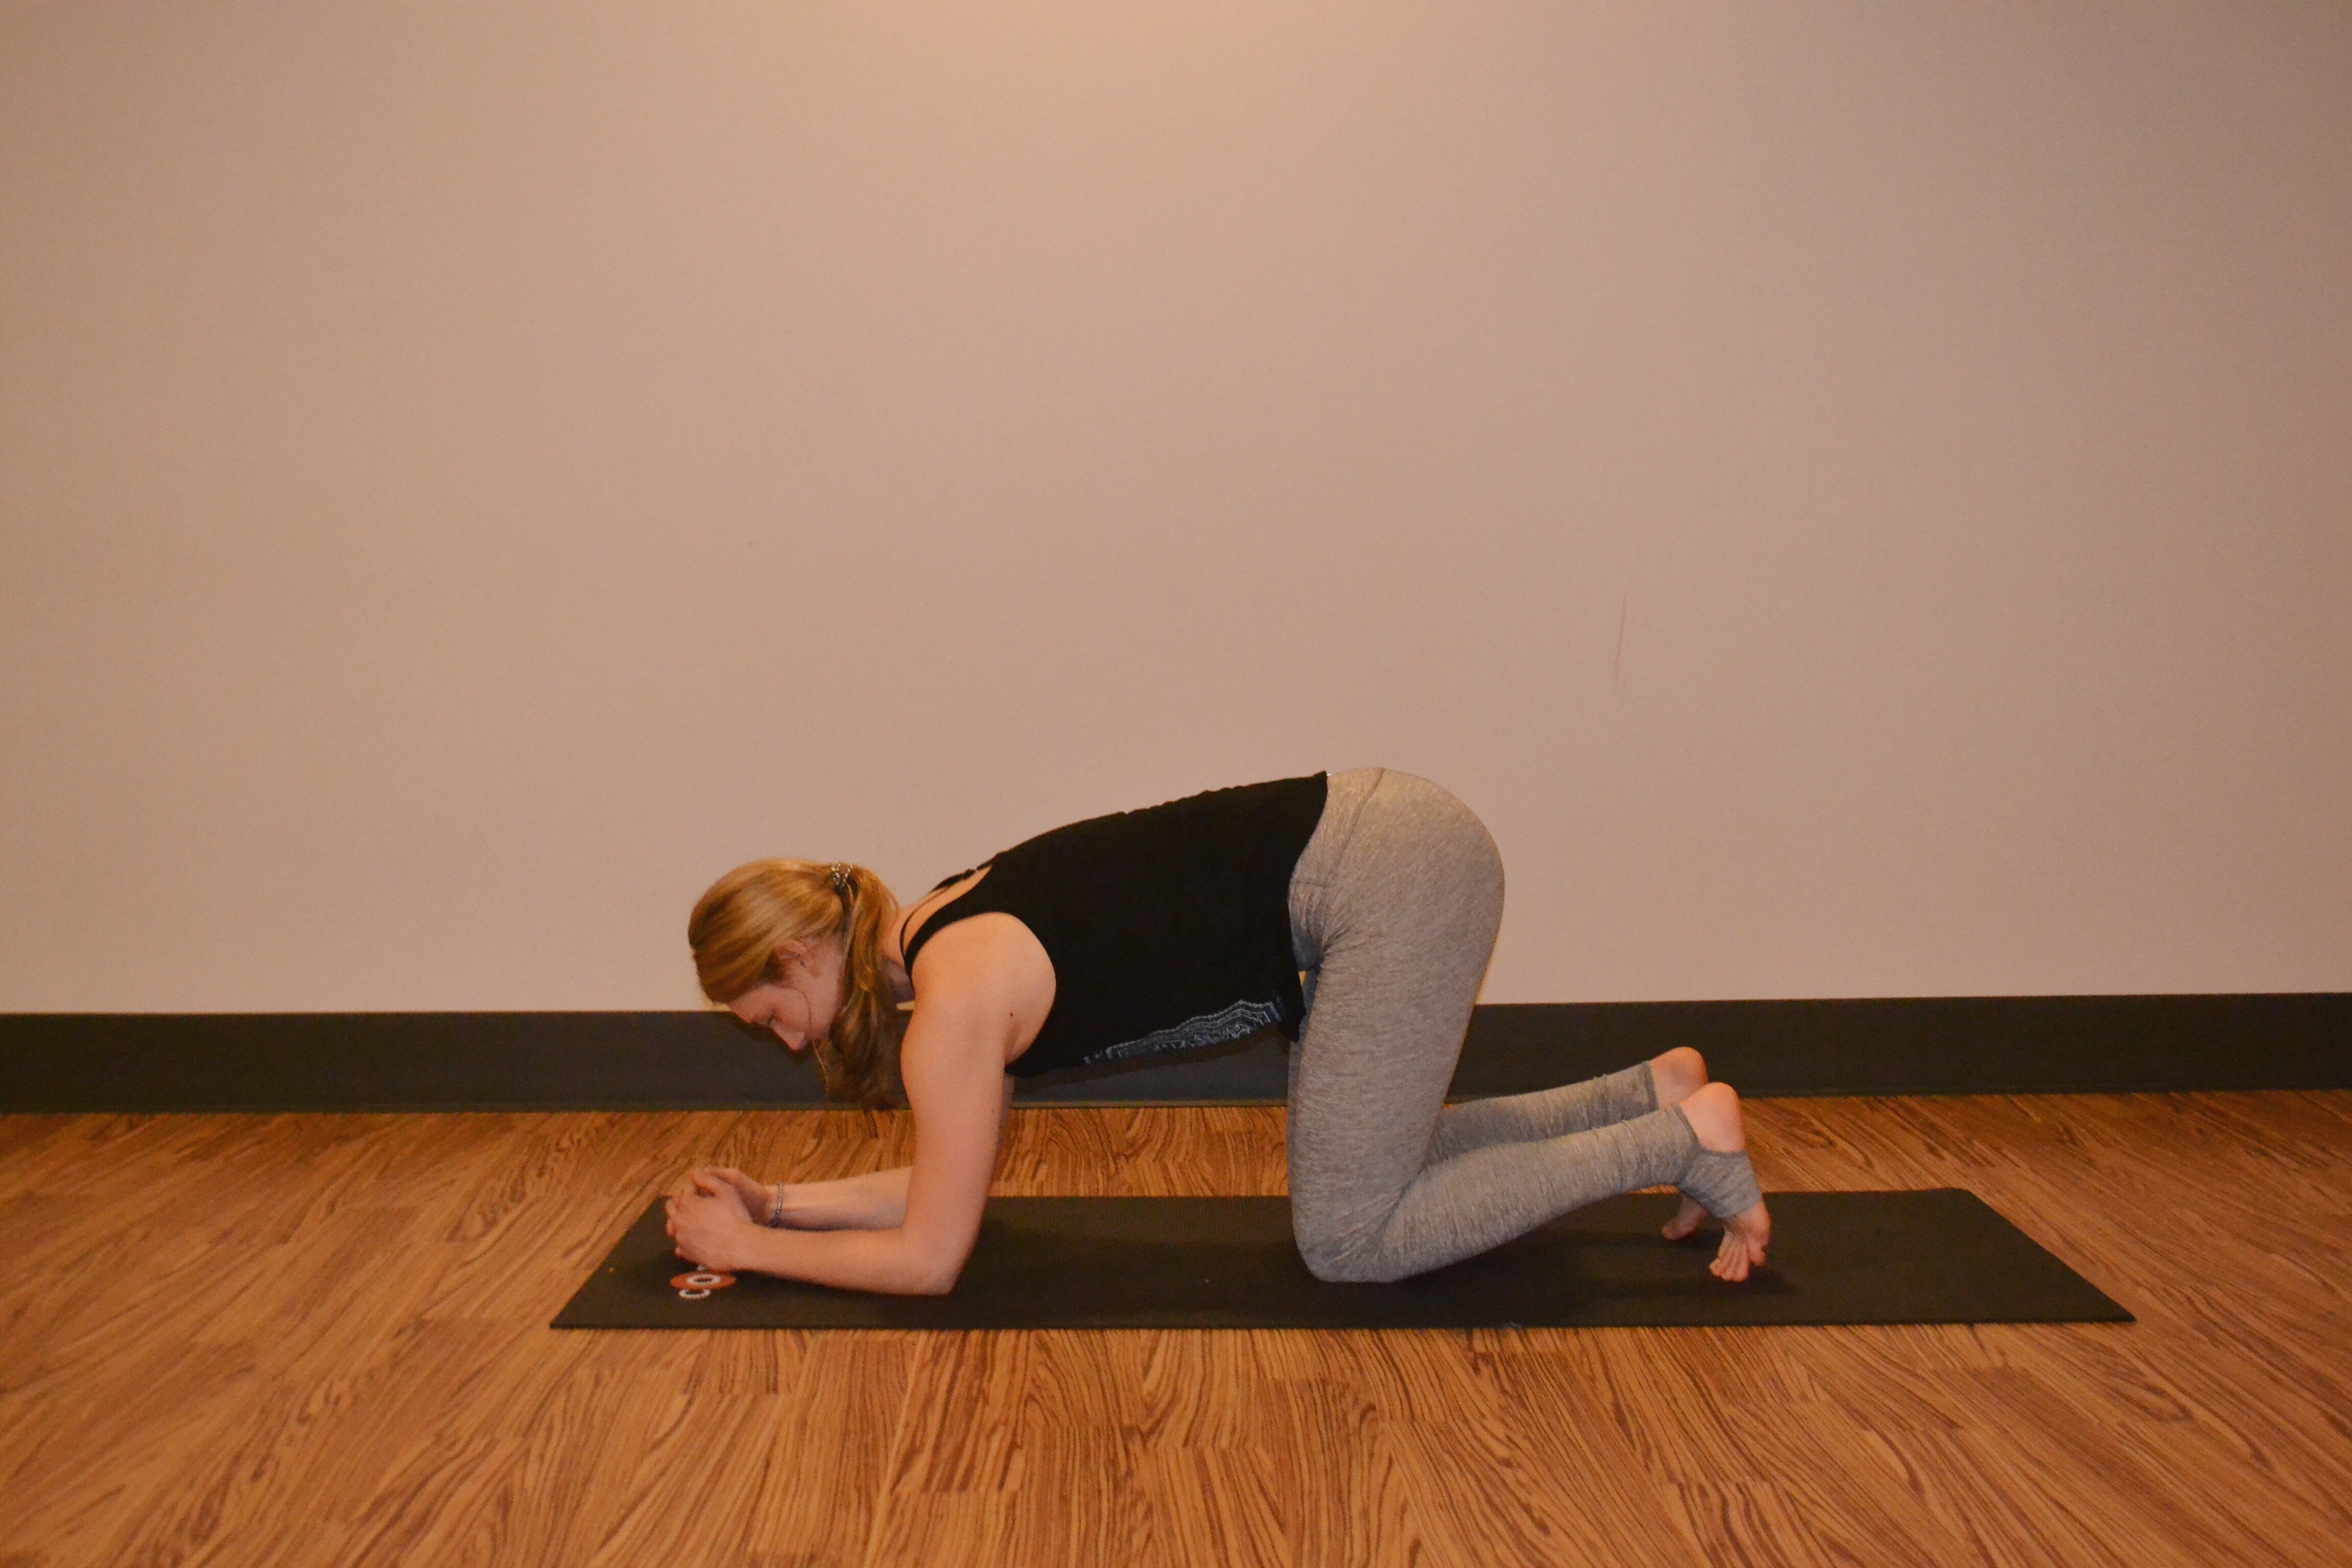
1. Plant elbows shoulder width distance apart and interlace fingers
From a kneeling position, grab opposite elbows to make sure your elbows are shoulder width distance apart. If your elbows are too wide, it widens your base and decreases your stability. Once you’ve measured your elbows distance, interlace your hands with your pinky fingers flushed together, to create a little basket for your head. This creates a triangle between your gripped hands and both elbows, which will be your anchor for this pose. From kneeling, place the crown of your head onto your mat (see head position below) and press the back of your head into your hands. The back of your head will be supported and stabilized by your hands.
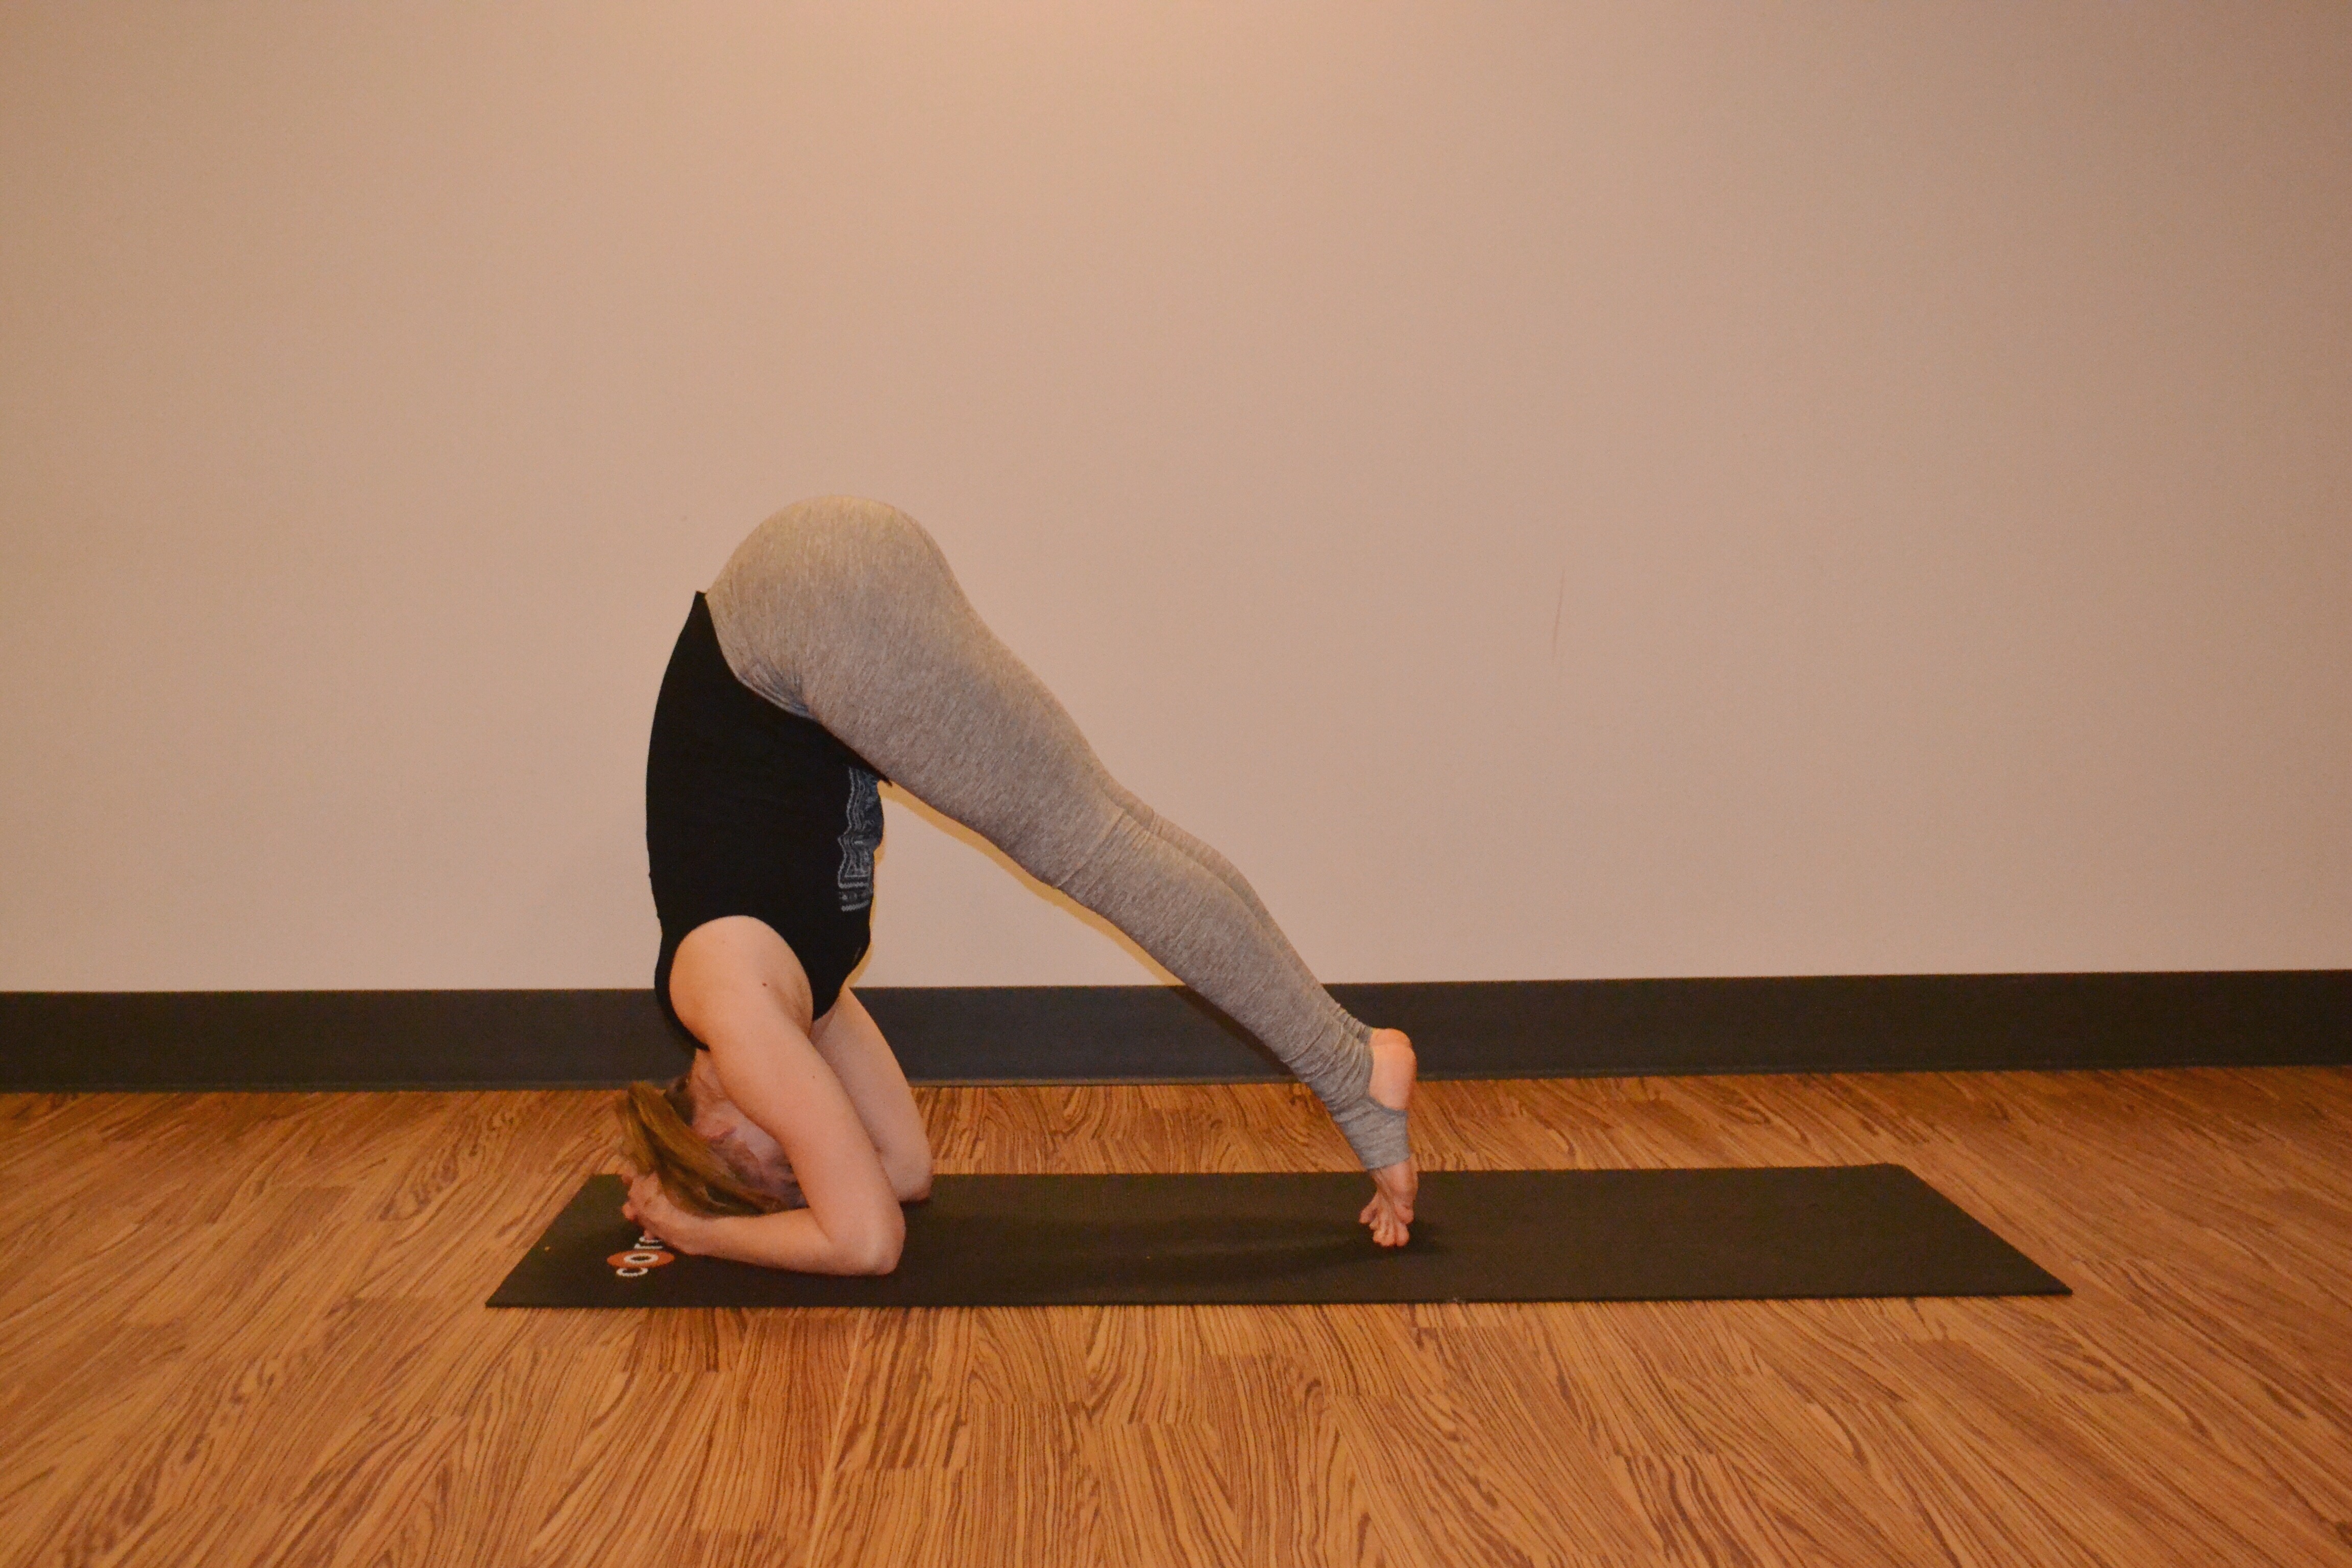
3. Walk your feet in and stack your hips over shoulders
Walk your feet in as close to your face as you can. Try to stack your hips over your shoulders — this helps immensely because half of your body is already stacked in alignment!Gaze towards the back of your yoga mat. Although it is called headstand, we want to take the pressure and weight of the posture out of the head and neck. Press firmly through your forearms and hands and let that be your base. Avoid pressing your weight directly into your head and neck — your strong triangle base is the perfect foundation to bear your weight!
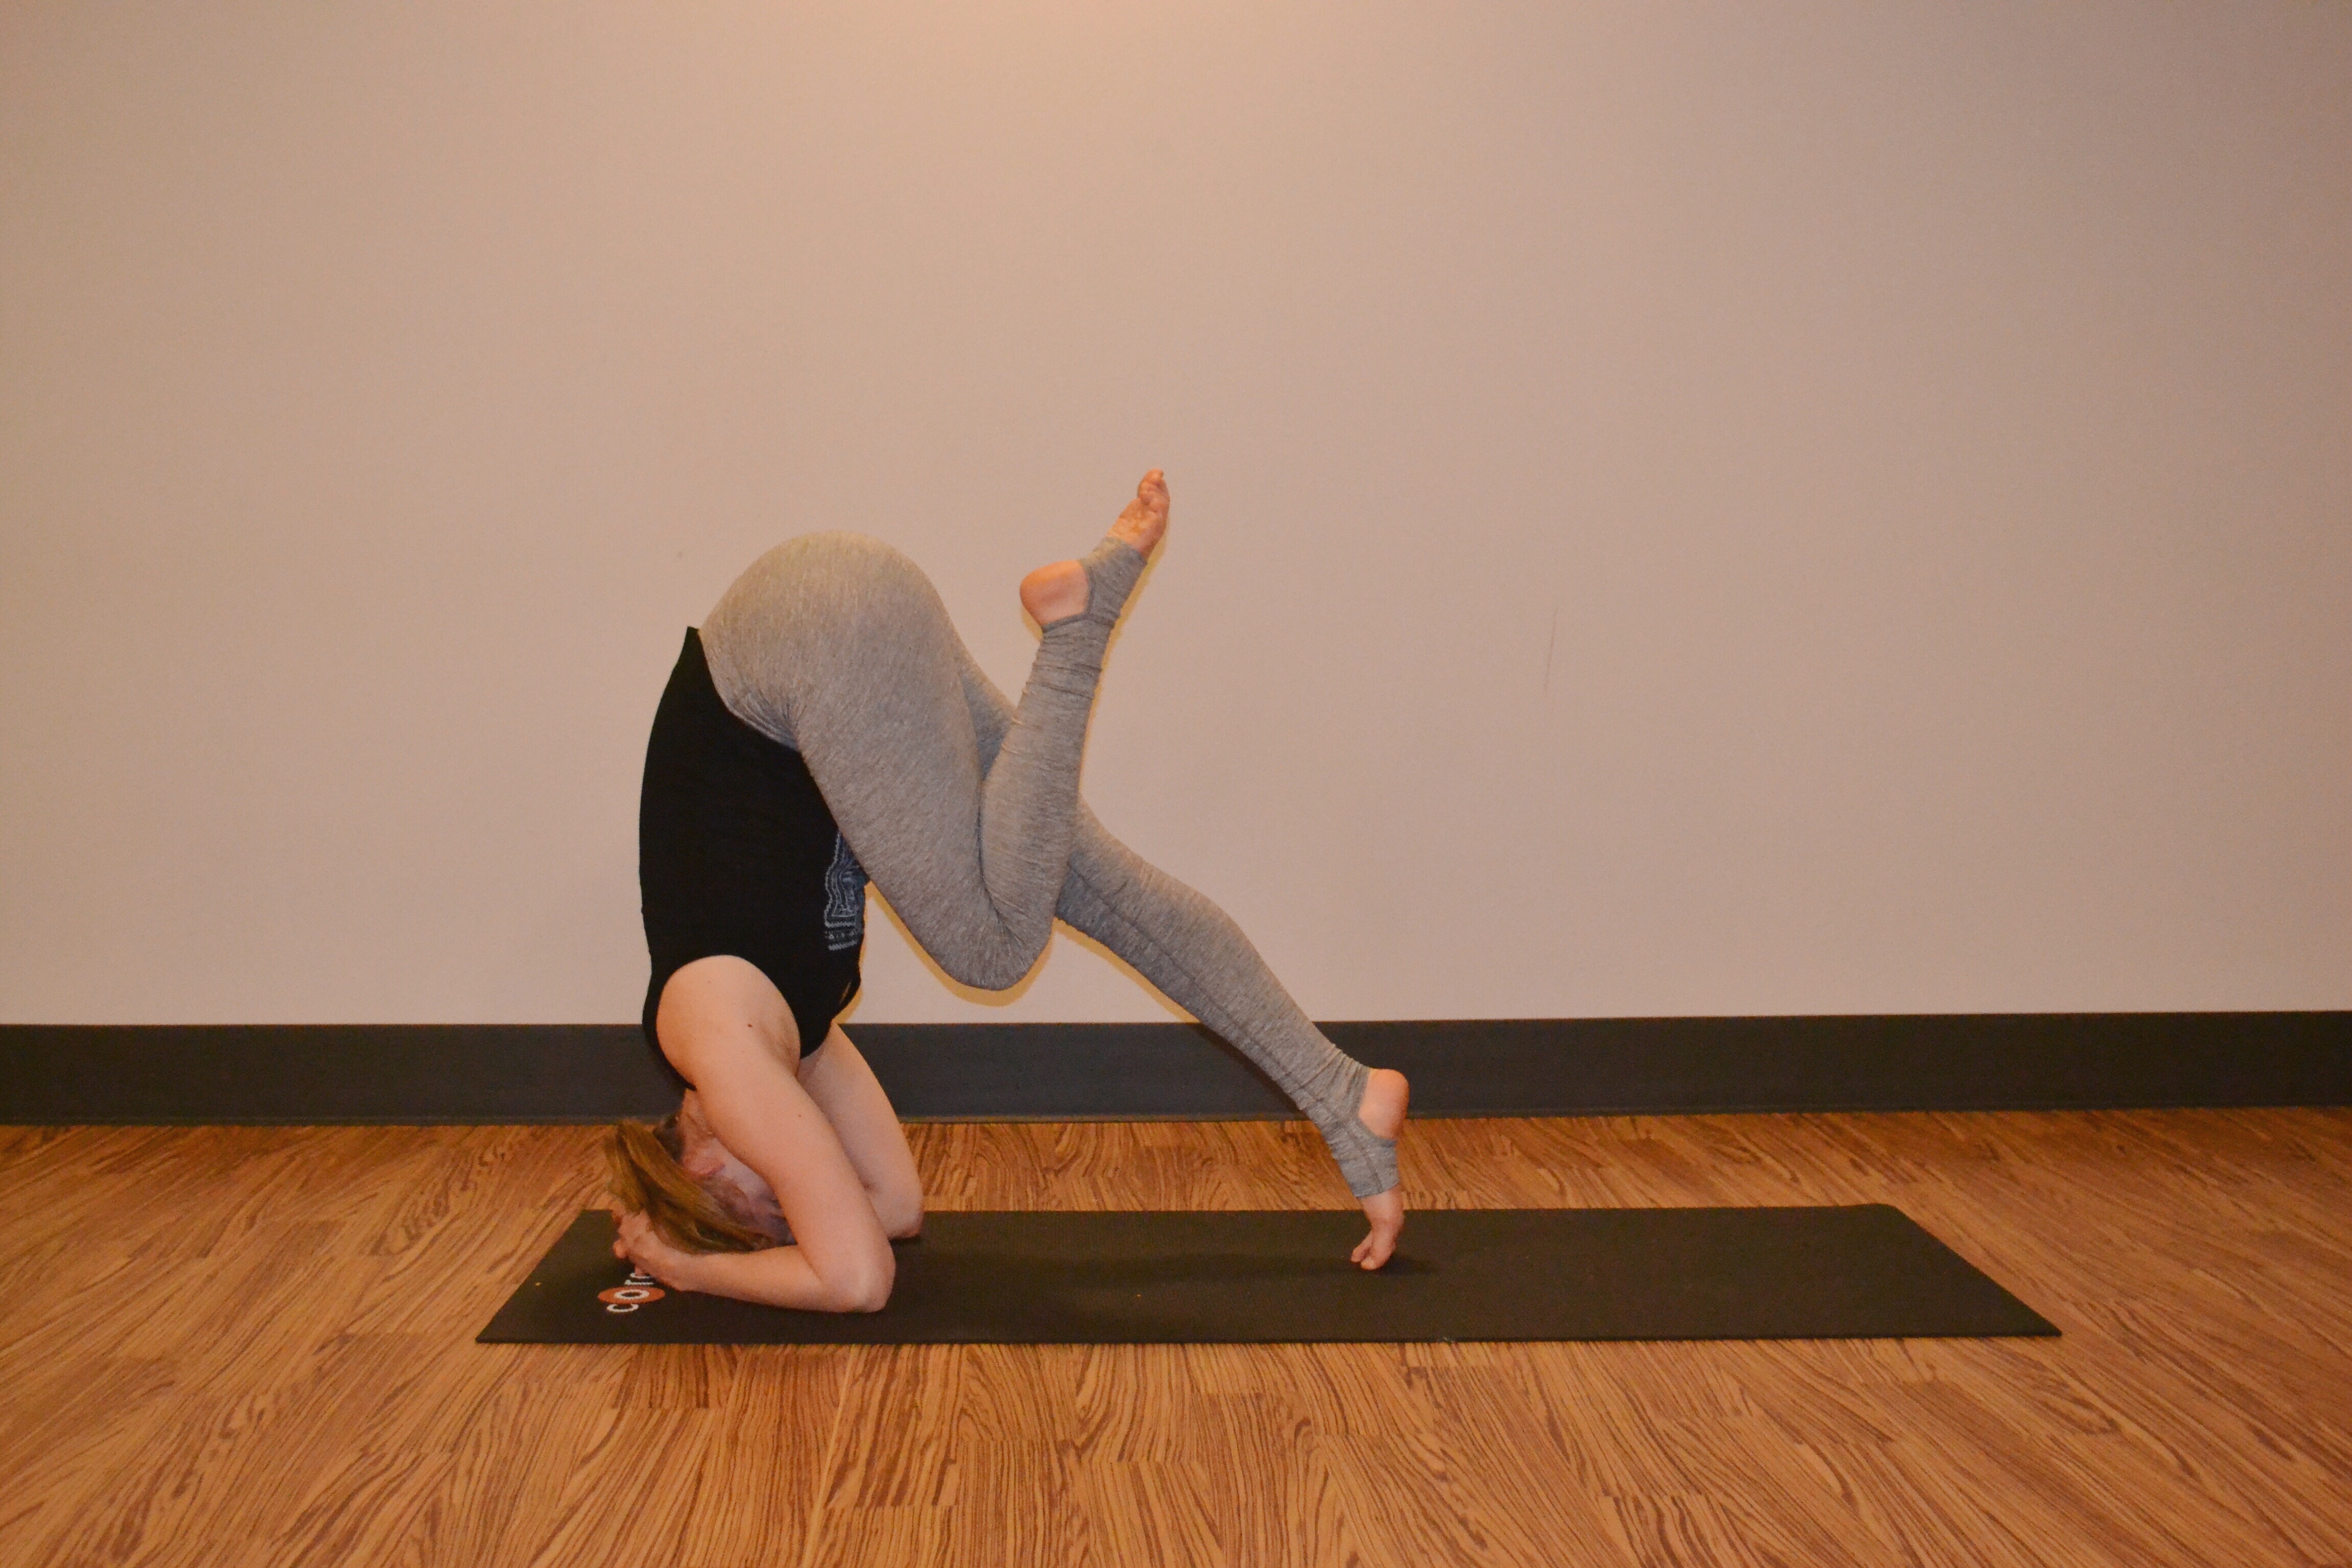
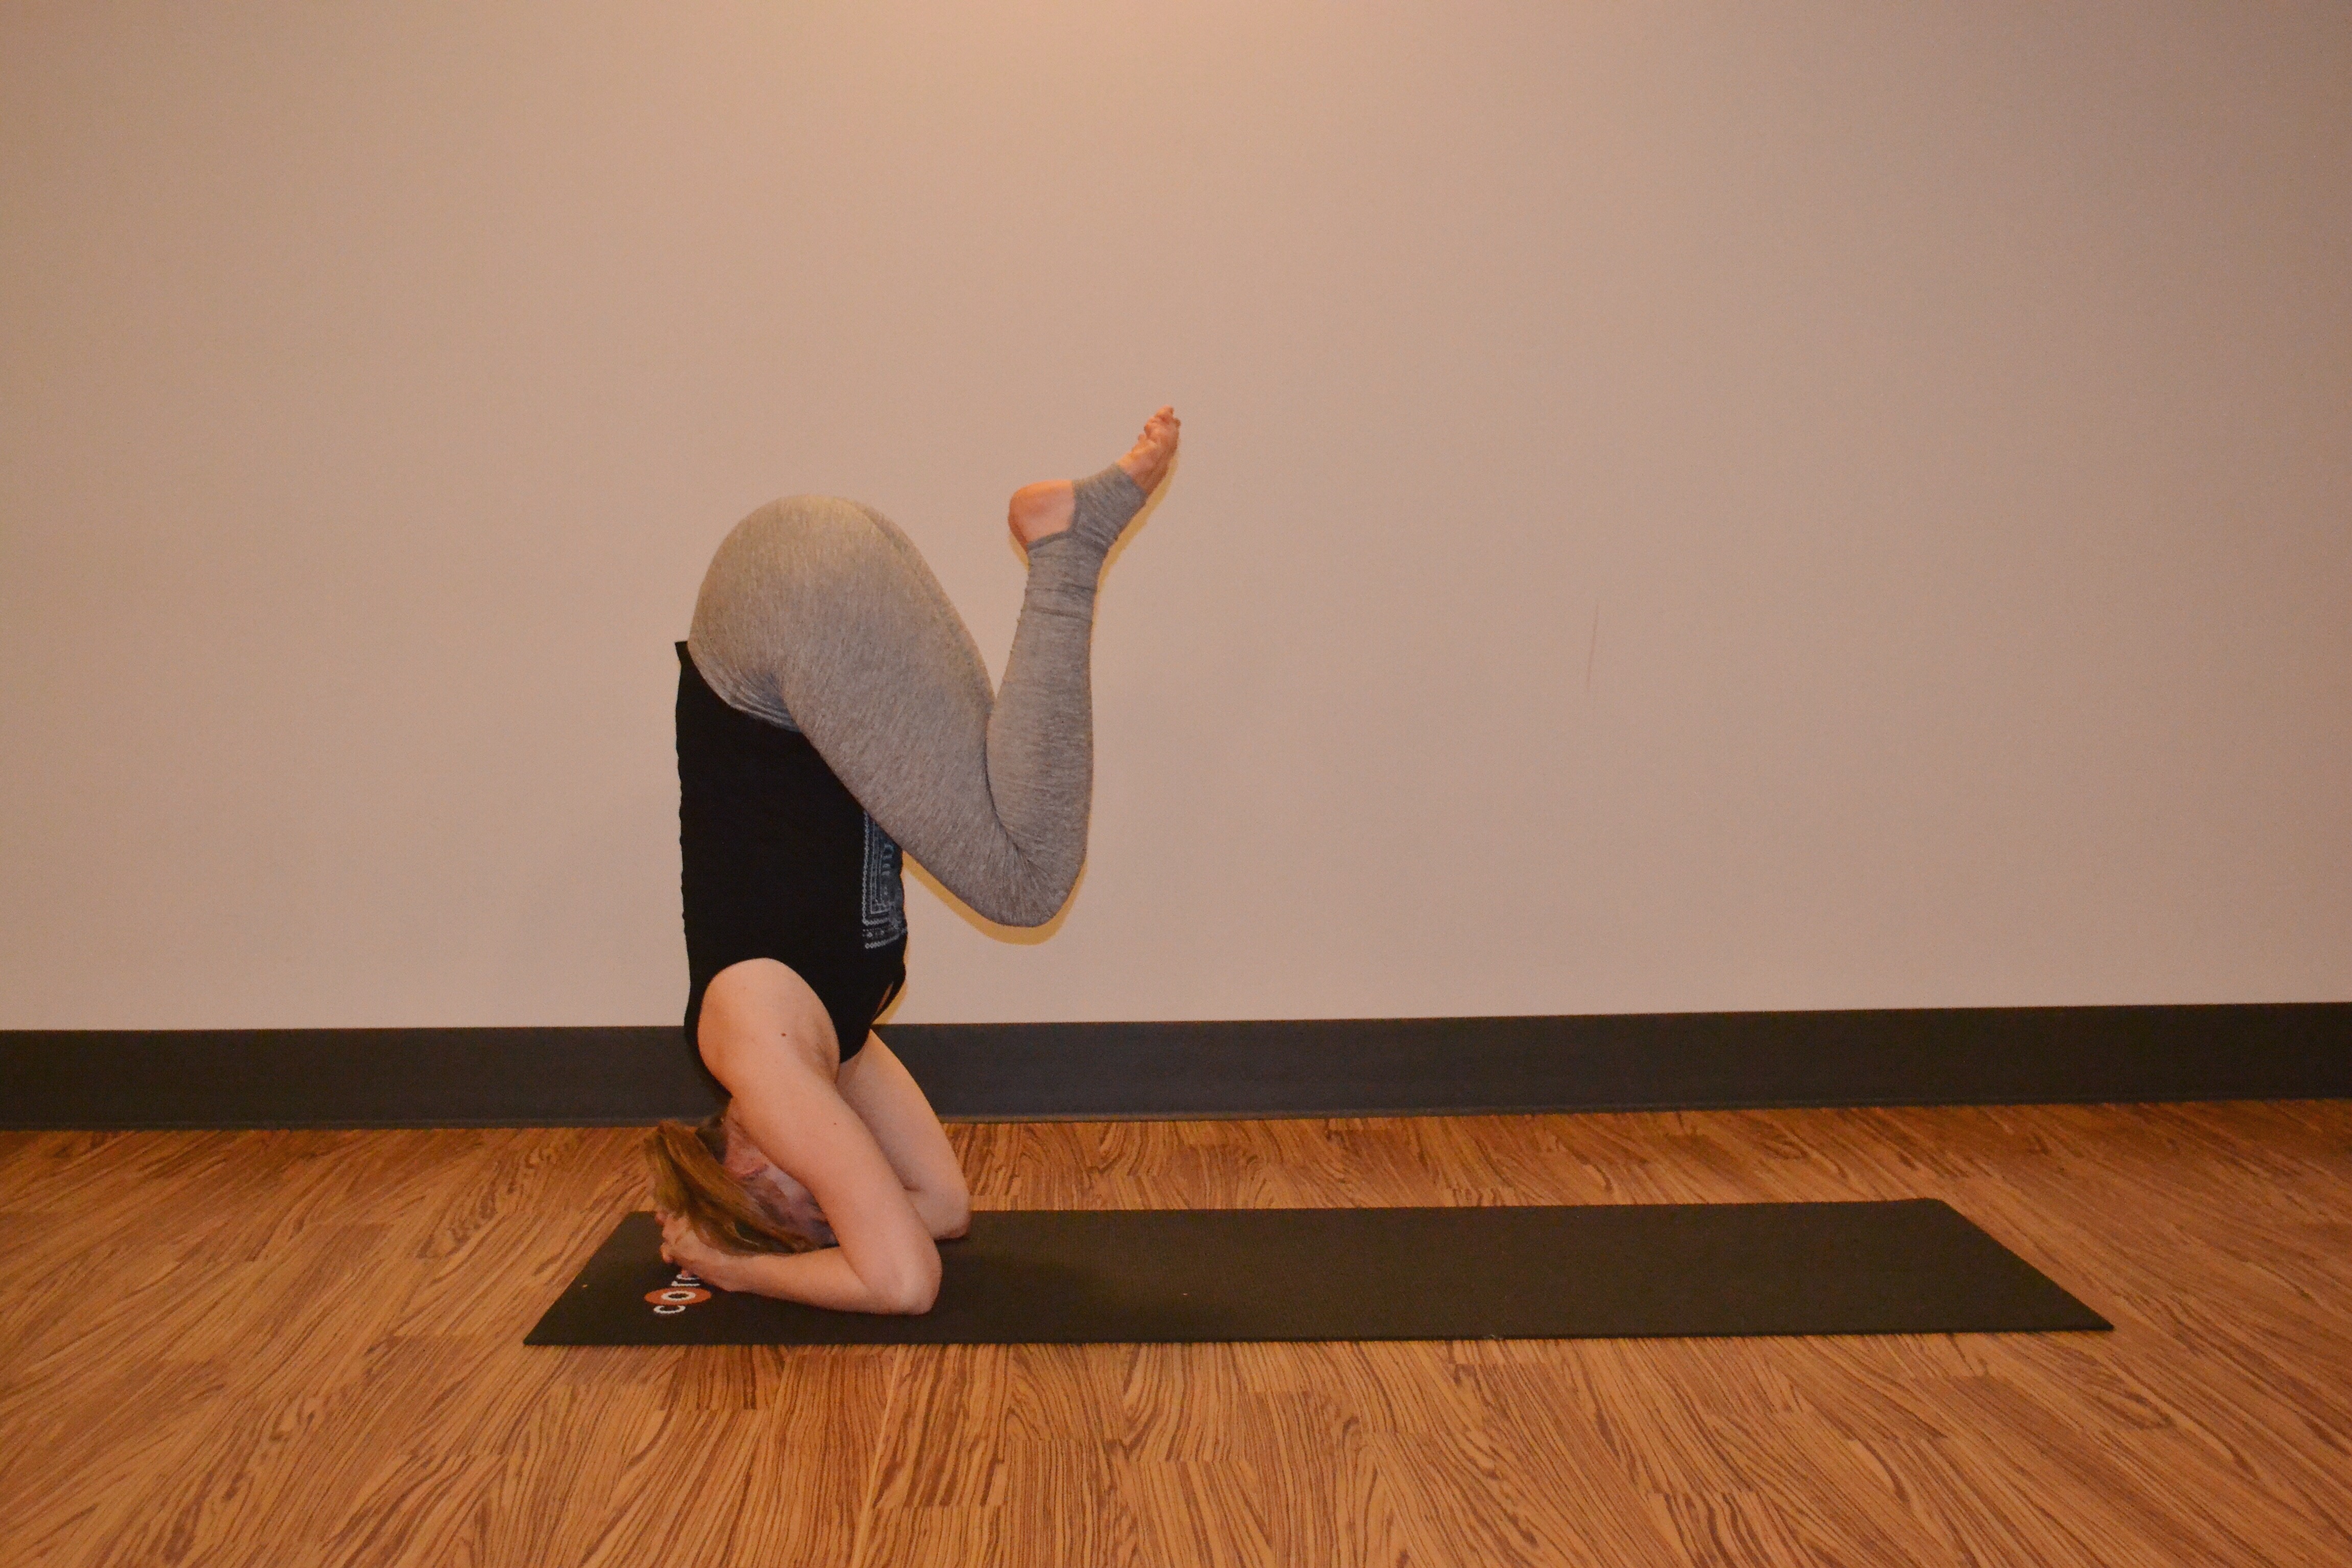
5. Engage your core and begin to lift into an egg position
Aside from forearm strength, our core strength balances and stabilizes us in headstand. Engaging the core will keep your legs from wobbling and tilting. Since your hips are already stacked over your shoulders, begin to hug one knee in towards your chest, using the strength of your core. Once you feel balanced here, slowly hug your other knee into your chest. This egg position is a great position to hold if you are working on getting comfortable being upside down!
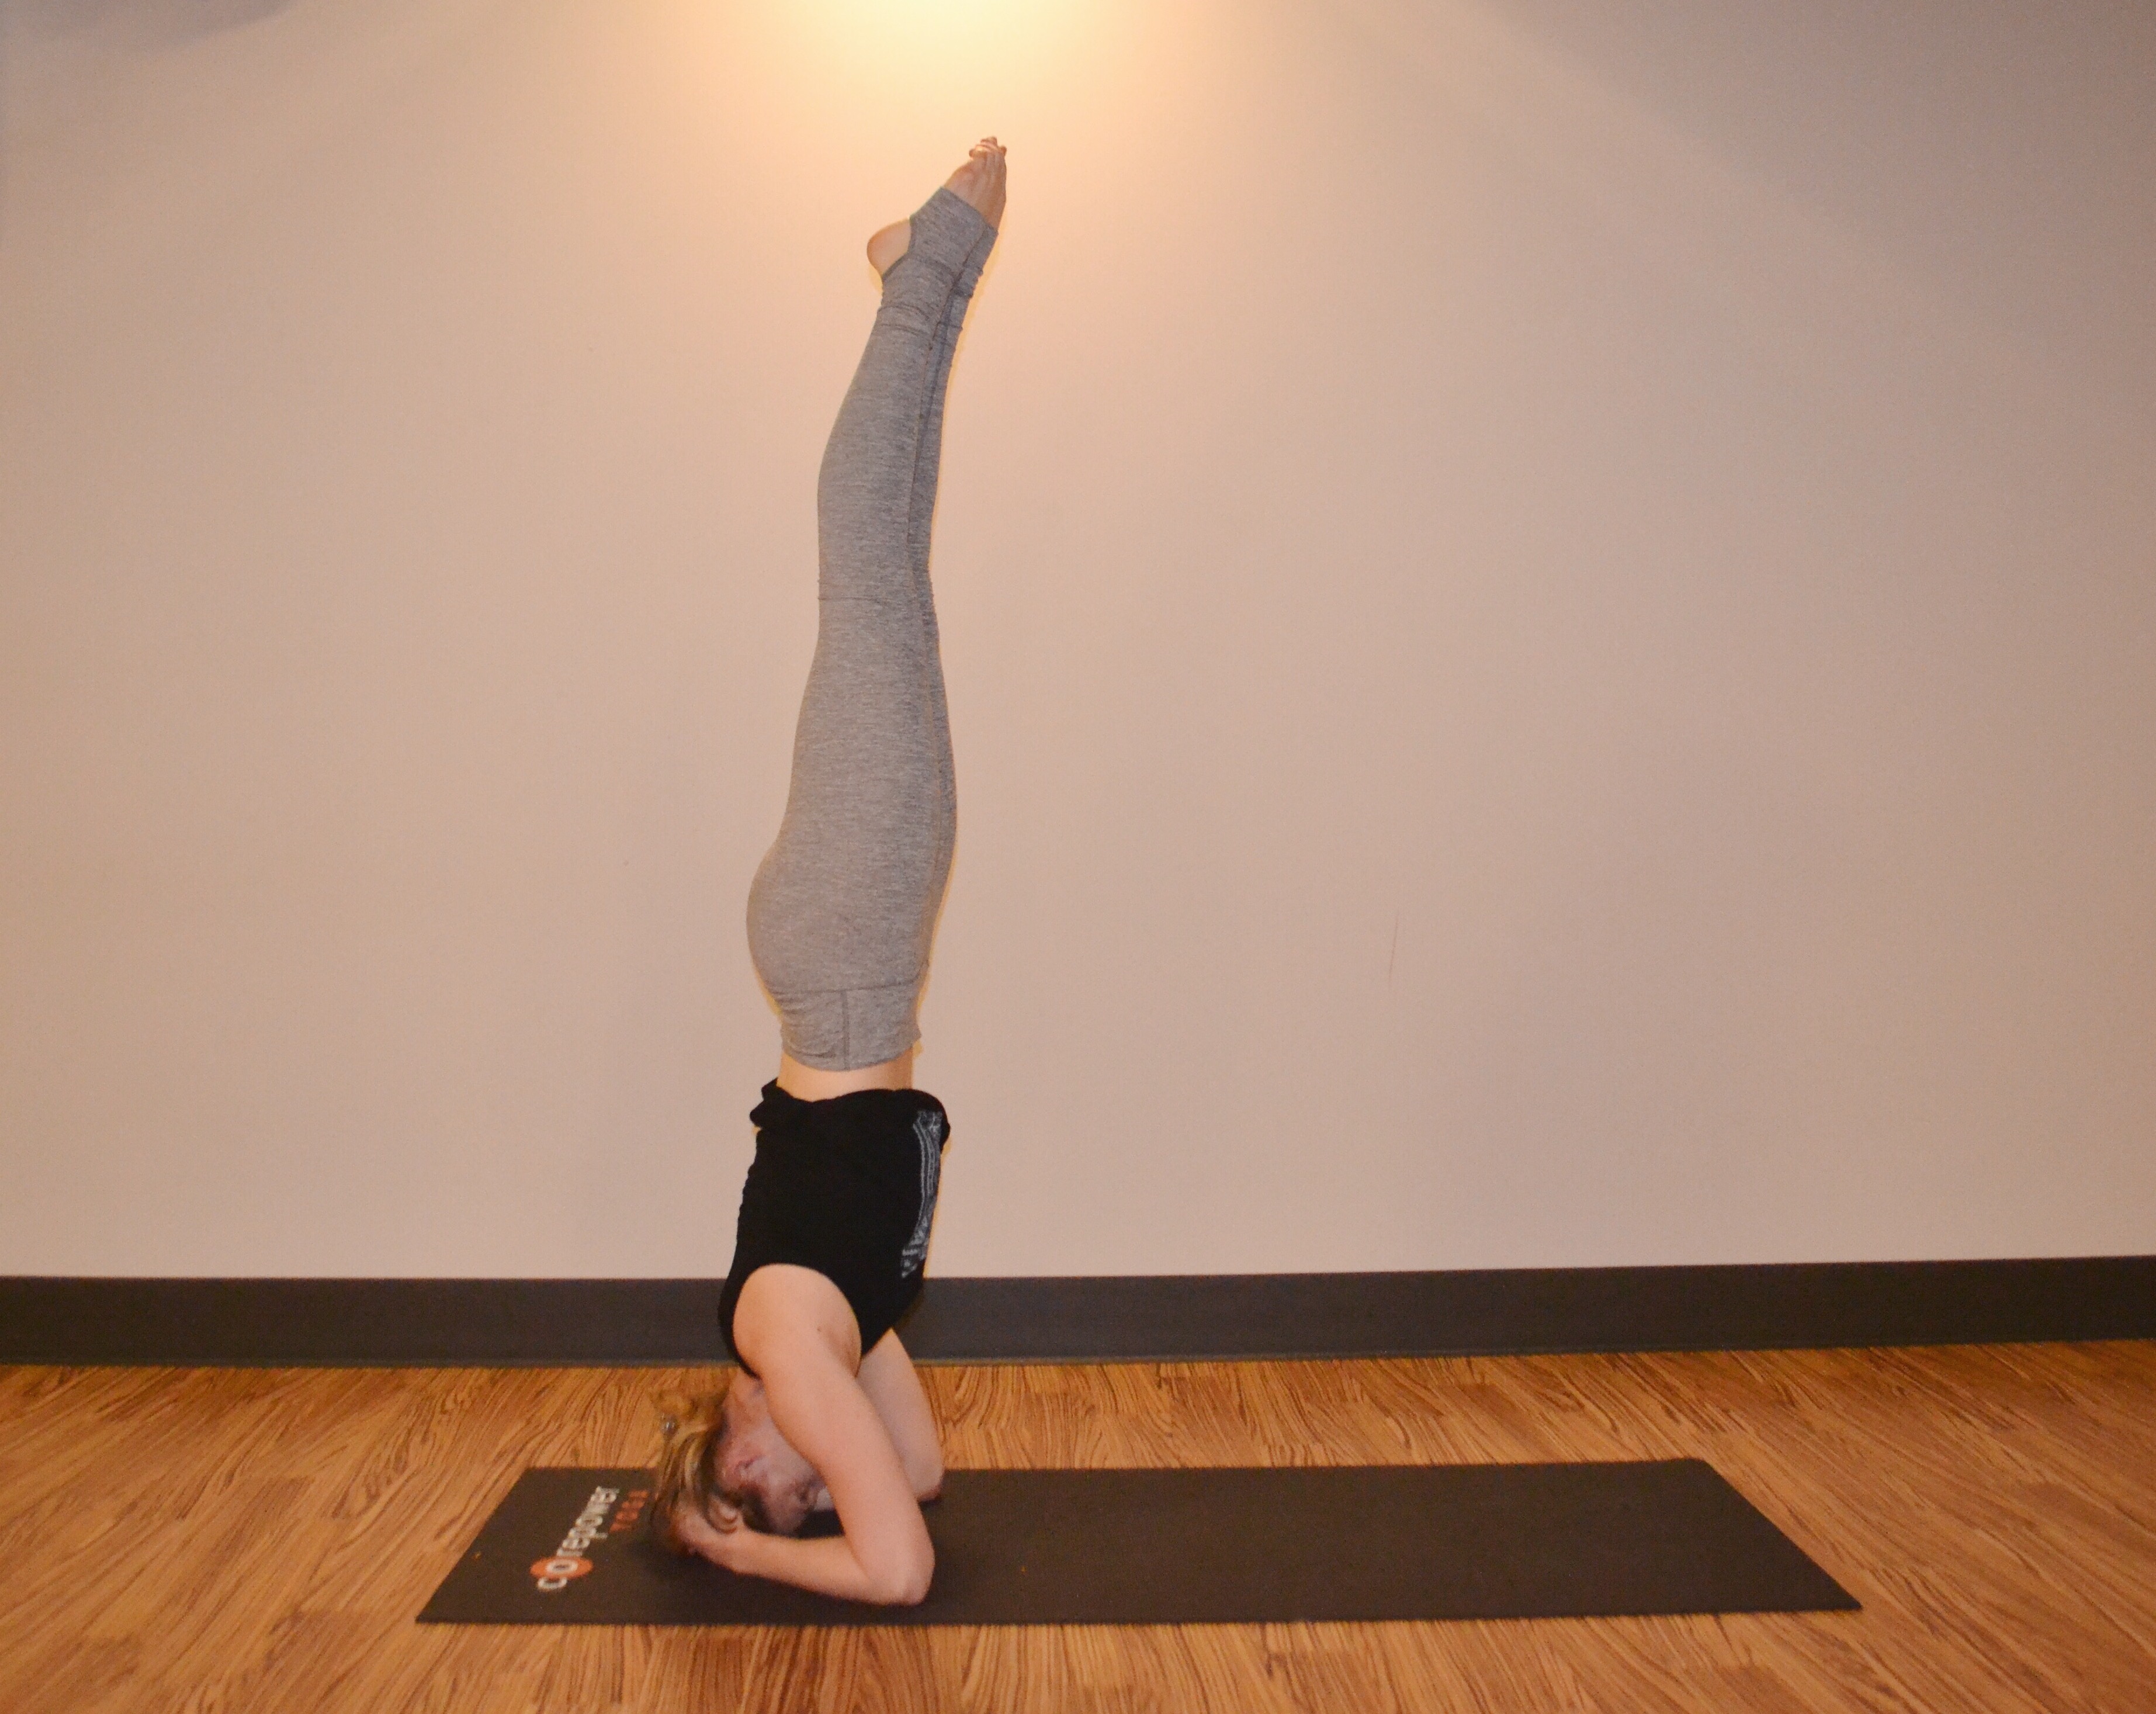
6. Slowly extend one leg at a time
Once you feel stable, continue to press into your forearms and engage your core as you extend one leg up towards to sky. When your first leg is extended and you feel steady, slowly straighten your opposite leg to meet it. Hug your ankles together and squeeze your inner thighs as they press into one another, creating one straight line with both legs.

7. The dismount
To come out of headstand, slowly begin to hug your knees back in toward your chest and slowly lower your feet onto the ground. Once you lower down, take at least five deep breaths in child’s pose to avoid a head rush from sitting up too quickly.
Bonus tips:
- Build strength through ab work. Ab work like yogi bicycles and boat pose are great for building the strength in your core that you need to lift yourself up.
- If you feel like you are going to fall forward, engage your core and slowly hug one knee into your chest at a time and tuck your chin so you can somersault out. Falling sounds much scarier than it is — I’ve done it a million times. 🙂
- Don’t kick up! I know it can be tempting to just “get up there” but it will destabilize you and increase your chances of tilting over.
- If it makes you feel more comfortable as you’re getting started, bring your mat over to a wall. Face the wall as you get started so that if your feet begin to go over your head they will press into the wall and keep you up in your pose.
If you read this post, you know I think motivation is a key in reaching your goals. I think it’s just important in getting into headstand — take a deep breath, believe in your strength and keep practicing. Try out all my favorite tips and tricks — I promise it’s not as scary as you think! Let me know how it goes and tag me in your headstand pictures because I know that with a little practice and a lot of confidence that you’re going to nail it. 🙂
x,
Morgan
Just tried this for the first time. Thanks for your tips! It is a bit less intimidating trying at home and I love the step by step. I am going to need practice. Just with step three I am holding there and while my shoulders / triceps are feeling the burn I feel like i am still pushing my head into the ground AND into my hands. Should I focus on shoulder strength more?? Any yoga poses that can help me really get this part down? Thanks!
I’m so glad it helped! Dolphin pose and dolphin push-ups help a ton with building the strength you need to take pressure off of your head! The dolphin push-ups are hard but definitely work 🙂